Updating the Belcarra USBLAN for Windows Driver
Overview
This document will illustrate how to re-install the Belcarra USBLAN for Windows Driver for a specific device that is using the driver. Once you have completed this procedure plugging the device back into your system should use the version of the driver.
This documents the procedure for Windows 7. Older versions of Windows have a similar process but the dialogs and menu choices will be slightly different.
Note: The driver name used in this example is “CDemo USB LAN Adapter”, your installation may use a differently-named driver, but the procedure is identical.
Procedure
In order to manually update the USBLAN driver on your system, perform the following steps:
Plug in the device. After a few seconds you should see this balloon at the bottom right corner of your screen:

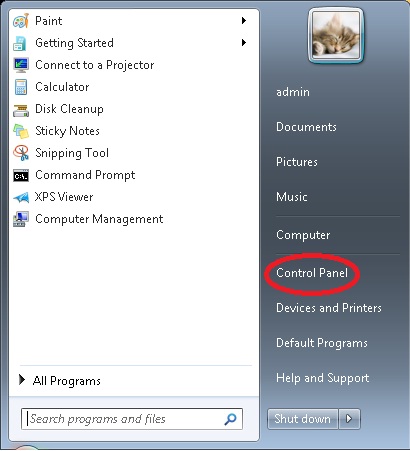
Click on the “Start” button and then click on “Control Panel” (outlined in red in this screenshot).
Depending on how you have Control Panel set up to display items (Icon or Category view). Examples of both are shown in the following screenshots.

